Building Skills
Author, version, and distribute MCP agent skills across your team — share reusable tool workflows via config file with full version history.
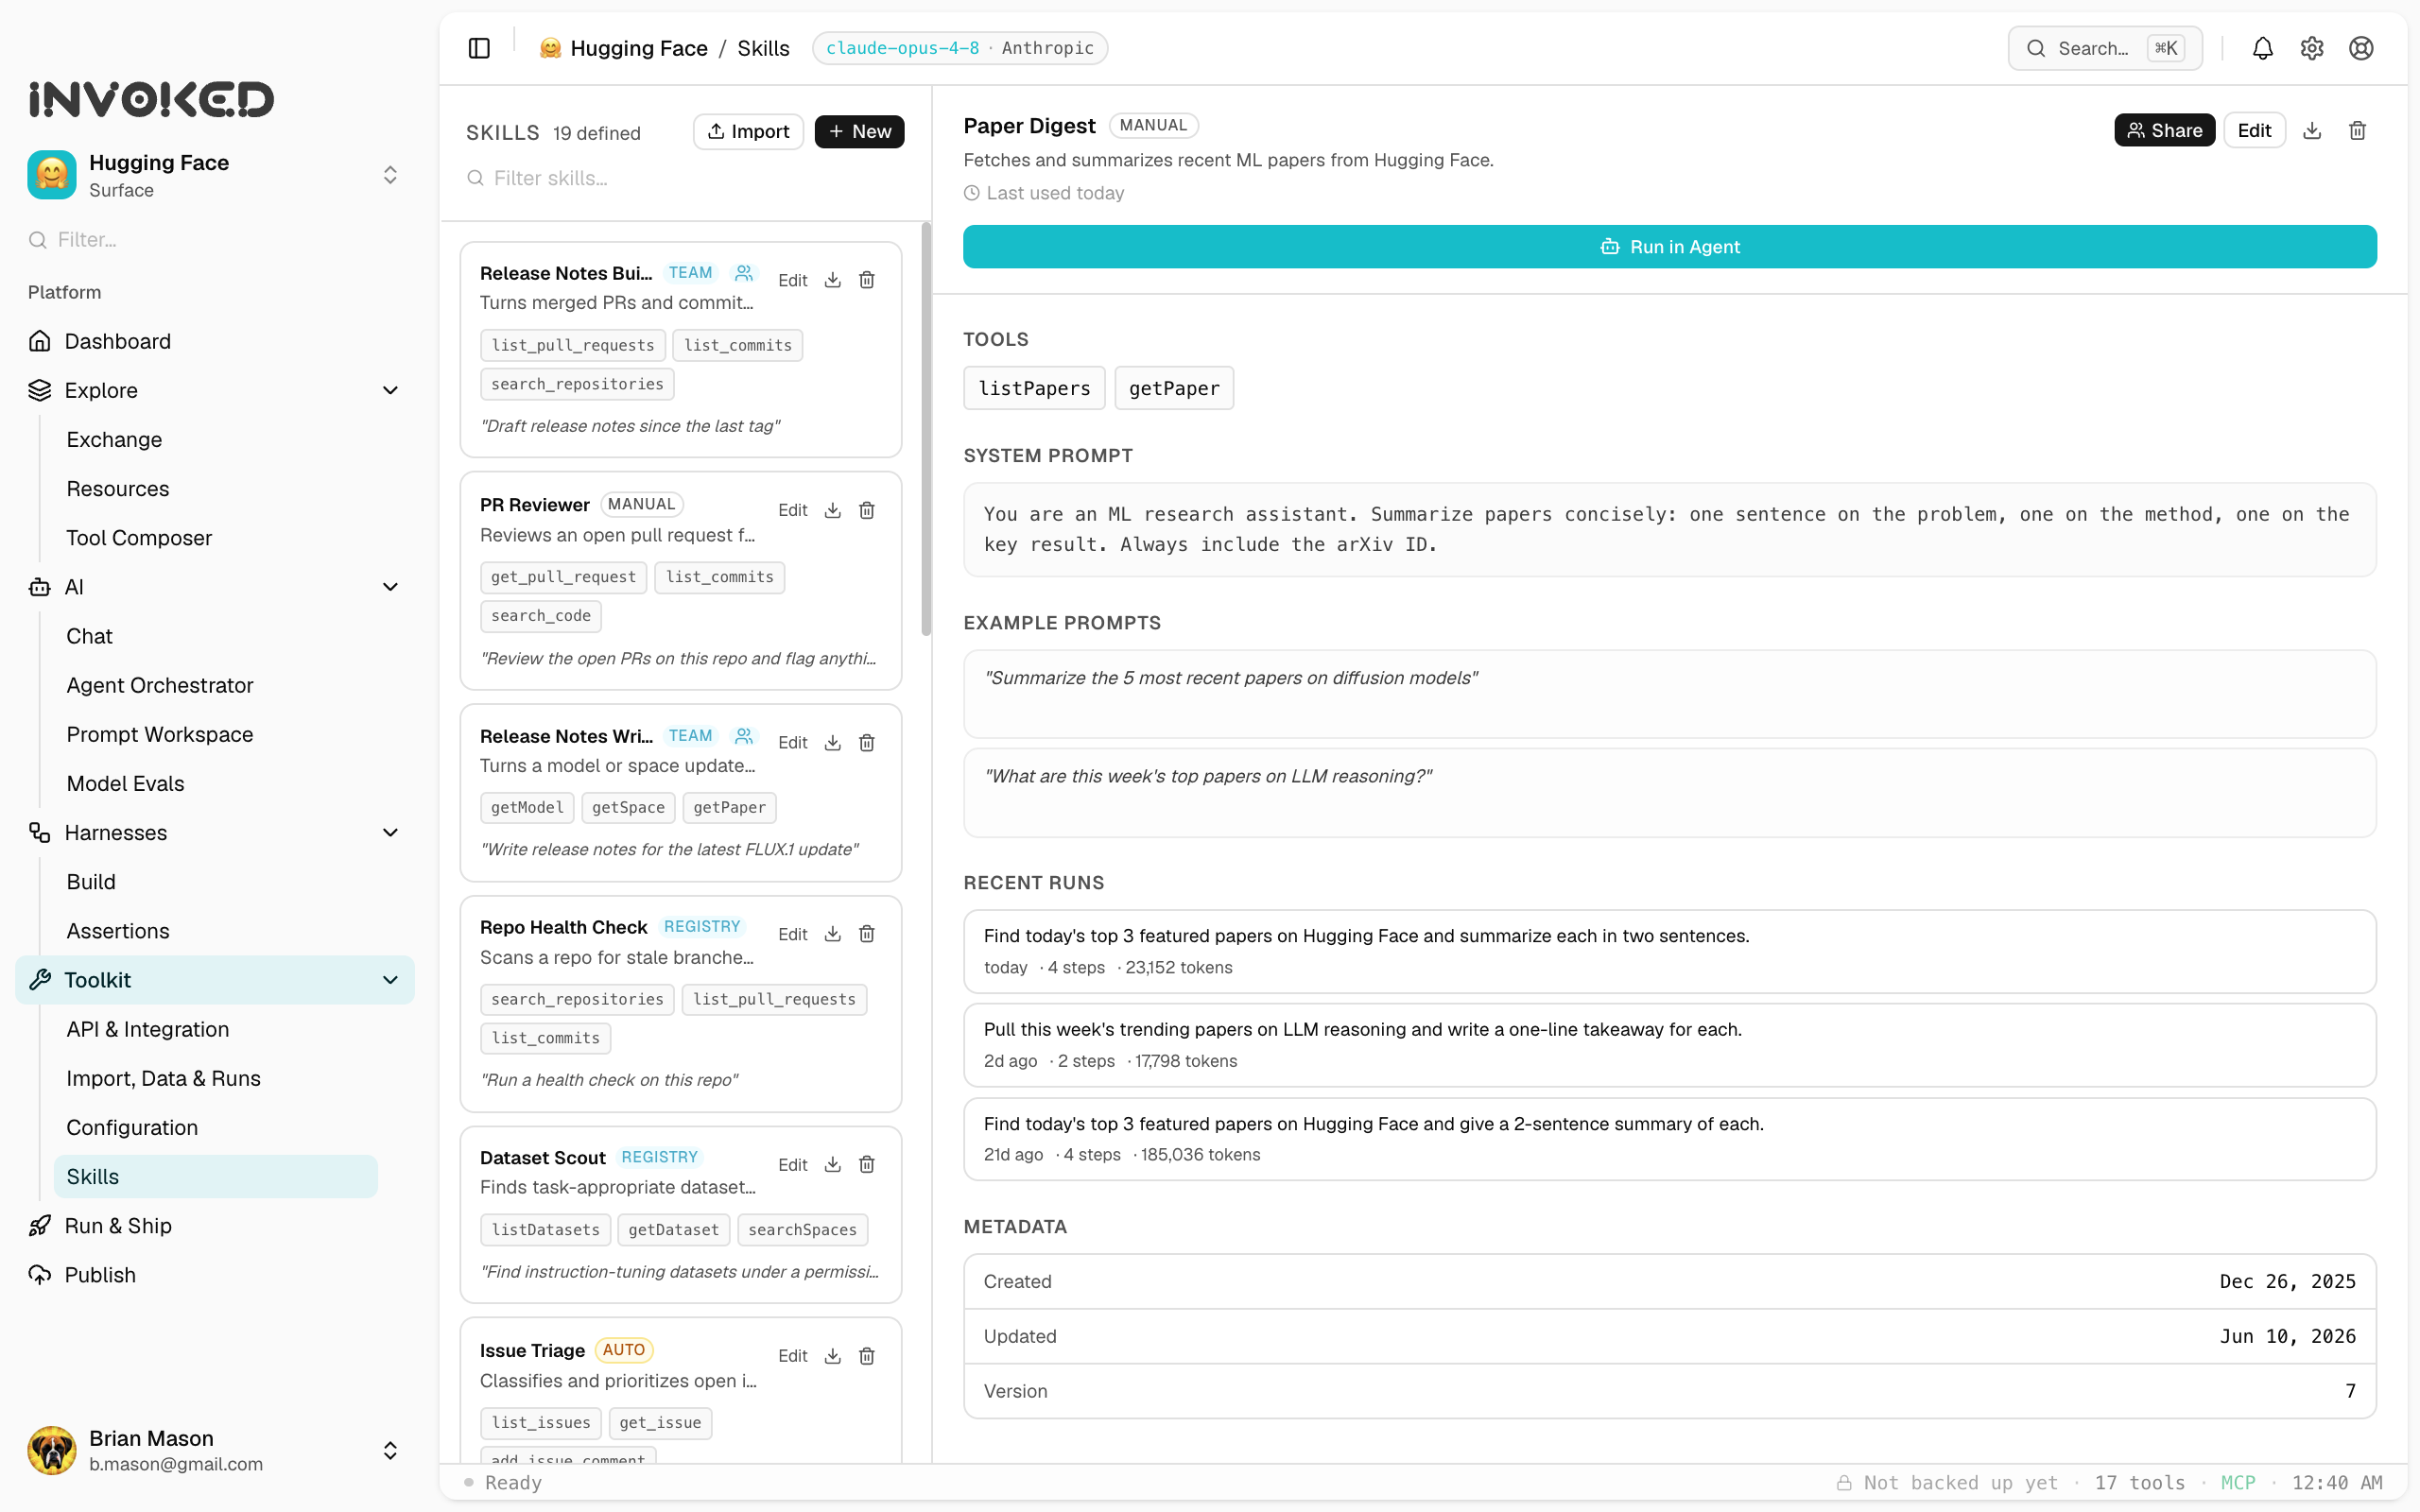
Starting from a run
The fastest way to create a skill is to start from a run that worked well:
- Open a completed run in the Runs panel
- Click Save as skill in the run header
- Name the skill and add a description
- Review the auto-generated prompt template and adjust as needed
- Click Save
Prompt templates
Skill prompts support {{variable}} interpolation. Variables become the skill's typed inputs:
Summarize the following code review for {{repo}} PR #{{pr_number}}.

Focus on:
- What changed and why
- Risk assessment
- Suggested follow-ups

Use a professional but direct tone.
With this prompt, Invoked generates an input form with repo (string) and pr_number (number) fields.
Input schema
You can add validation and metadata to inputs:
{
  "repo": {
    "type": "string",
    "description": "GitHub repo in owner/name format",
    "placeholder": "acme/api"
  },
  "pr_number": {
    "type": "number",
    "description": "Pull request number",
    "minimum": 1
  }
}
Tool selection
Choose only the tools your skill needs. Fewer tools = faster, cheaper, more focused runs. A summarization skill probably only needs fetch_url. A code-generation skill might need read_file, write_file, and bash.
Testing a skill
Use the Test button in the skill editor to run it with sample inputs. The test run appears in your Runs panel with a [test] tag.
Team distribution
Export a skill as a JSON file and share it:
- Open the skill in the Skills panel
- Click ⋯ → Export
- Share the
.jsonfile with your team
Your teammates import it via Skills → Import.
Future versions will support workspace-level skill libraries that sync automatically.
Versioning best practices
- Bump the version when you change the prompt significantly
- Use the description field to explain what changed
- Keep old skills around — don't delete them, archive them
- Use evals to verify that a new version is an improvement